Tag Archives: cosplay

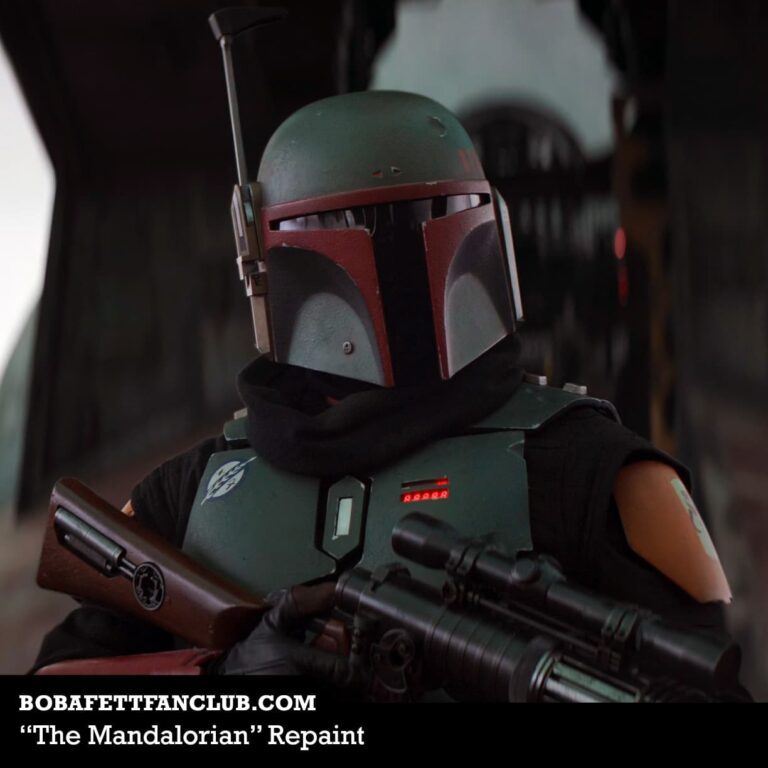
Boba Fett Cosplay: My First Build for Myself

I have made props for display and costumes for others for a while. I always enjoyed going to comic cons and renaissance faires, but I had never dressed up. I planned on it many times, but something always got in the way. When I watched Season 2 of The Mandalorian, I knew what my first build would be. Boba Fett.

Not the Fett we are looking for

When we first saw Boba’s armor, it looked awesome. I was sold. The only problem, it wasn’t Boba. As we soon found out, it was Cobb Vanth. A few episodes later, Boba shows up draped in black and more vicious than ever. Where Din Djarin was the finesse fighter, Boba was the sledgehammer. Before long he had donned his armor once again and he did not disappoint. I revisited my previous plan and now had my sights set on the REAL Boba. His armor was damaged. Most of the paint had been eaten away by the acid of the Sarlacc pit and whatever events it had been through since we last saw it almost 40 years ago.

The return of Boba Fett and the reuniting of him with his armor.
https://media.comicbook.com/2020/12/star-wars-the-mandalorian-season-2-boba-fett-1248448.jpeg

Boba so fresh and so clean, clean

A few weeks later, and another episode comes out. The ramp of Slave 1 is down and we hear Bill Burr rambling as he does from time to time. Boba comes walking down the ramp, flanked by Fennec Shand. His armor is completely repainted and looking amazing. The yellow kill stripes were replaced with red ones. The original grey flak vest, now black and black robe-like garments take the place of the original flight suit. I was blown away.

Boba Fett comes down the ramp of Slave 1 and we get the first glimpse of his new repainted look.
https://www.bobafettfanclub.com/costume/images/variant-themandalorian-repaint.jpg

Each time I had seen him, I thought he looked awesome and there was no way he could look more awesome, but then time after time I was proven wrong. This was it, “Boba Fresh” was to be my first cosplay build.

Setting a goal and getting started

I spent my time doing research on the armor and how it was supposed to look. I watched YouTube videos of scenes from the Mandalorian where the Boba Fett could be seen in action, took screenshots, and hunted down every reference image I could find to help me understand how to make this all come together. My goal, be ready for Comicpalooza 2021 in Houston. Now I can’t tell you how this story ends, because we haven’t made it there yet. I did intend to do my best to document the making of this costume to aid others who want to go down this path in the future, and I still do.

https://youtu.be/l_OCHjazMs4
Not sure how many times I watched this video.

I originally intended to document my process as I did it. I forgot that it about doubles how long it takes to actually do something. With Comicpalooza fast approaching, about 3 weeks away as of the writing of this post, I knew a complete account of the process was not going to happen. I am doing my best to take some photos and make updates on my social media, but an in-depth look at the process, no way.

Turning my failures into your successes

So I have decided it will be a retrospective. I will go back and look at each part of the process and put together guides on sourcing and making each part, compile my lessons learned, and talk through the tough points. I’ll include links to the products I found to work and plan to make videos showcasing and walking through the techniques I used.

I imagine there will be more people looking to recreate this look in the near future especially with The Book of Boba Fett coming out this fall. Hopefully, my series on how I brought him to life will be of assistance to those who decide to go down this same path.

‘Til next time, stay awesome,

Pete

Getting started in 3d printing: 6 tips for a successful print and a look at my Post-process

3D printing has become a very popular hobby in recent years, as the technology has improved and become more affordable. It is not uncommon for people to purchase 3D printers for less than $500 these days, with many models available on the market that will work great for beginners. In this article, I am going to give an overview of my project process for doing props.

Printing

Printing is pretty much a :”set it and forget it type of thing.” Monitoring your print is a good idea in the event there is a failure, but most of the ways you can improve and increase the success rate of you print is in the setup and preprint part of the process. Here are some tips to help.

TIP #1 The right filament

First, it is important to make sure that your printer has the correct filament for the project use. If you are printing something that will be outside or exposed to heat, printing with PLA (Polylactic Acid) is not a great idea unless you reinforce or do some additional steps. ABS (which we will be using) however, has a higher heat resistance and works great for props. All of these tips are with the understanding we will be using ABS.

TIP #2 Plenty of fresh air for you

Good ventilation – safety is always important and there are many things that can happen while printing with ABS, from the material melting down and releasing toxic fumes to it just smelling like burnt plastic.

TIP #3 Less fresh air for your print

Enclosures and draft elimination- Draft elimination is important as it may cause the plastic filament to lift up from your print bed and cause issues with sticking. Enclosures can help eliminate draft as well as maintaining the proper temperature.

TIP #4 Bring the Heat

Proper temp – ABS should be printed at 230°C and your bed temp should be set around 105 to 110.

TIP #5 Go make your bed!

Printing surface – a good, level print bed is important because if it’s not then your part may be off-center or have warping around the edges. Also, ensure to level the bed prior to each print. Tape, hairspray, and acetone slurry can help with bed adhesion if issues arise.

TIP #6 To support or not to support, that is the question

Positioning and supports – positioning the model on the bed can help eliminate the need for supports in many instances. Sometimes the need for supports is unavoidable. Minimizing supports will help reduce your workload in post-processing.

Post-processing

Sanding

Sanding is a good way to finish your print. Starting with sandpaper use should be rough grit (60-80). This will remove the majority of any marks left by support material and other imperfections that may have occurred during printing, such as stringy bridges, unwanted infill layer patterns like honeycomb hexagons which can, or layer lines left from the printing process. Finish it up with a 220 and that should be smooth enough for most prints.

Filling

Acetone slurry, bondo, spot filling puddy, and filler primer will be your friend for the larger imperfections that cannot be dealt with by sanding alone. After you use these, it is back to sanding.

Finishing

This is the fun part! Now that you have finished sanding your project it’s time to give it that straight off-the-screen look.

Painting

Acrylic paints, spray paint (primer and color), lacquer. – Don’t dismiss rattle cans, they can have great results. Warming the can up by putting it in a bucket of warm water prior to painting will help with a smooth coat. Try to pick an area that isn’t overly hot or dirty. Make sure you have a surface protector down and your PPE. Start by laying nice even coats from about 12-16 inches away. Be patient, let the layers dry well before continuing to add additional paint or weathering effects (they’ll peel off).

Weathering

My absolute favorite part. Weathering is a technique used to make objects look old, dirty, and weathered. You can use paint or pastels for this process as well! Graphite powders, black/brown washes, and wax paints like rub-n-buff yield great results.

This is an overview of my process. I will walk you through a more in-depth look at my process with a couple of models I am currently finishing up printing. I will go step by step with pictures and tips. If you want to download the awesome models I will be using (did I mention that they are free?) swing over to Mynock’s Den. He has been gracious enough to provide a couple of blasters and they look awesome. He already has the files laid out, so the only thing required would be to break it up to fit on your bed.

So stay tuned for more updates as they come in! My process is not 100% perfect, but it’s what I have found works best for me so far and I am always striving to perfect it. I’m always looking for new techniques and ways to get better and improve, so if you have a suggestion, leave a comment and let me know how I can keep getting better.

Til next time, keep making and stay awesome,

Pete